
Stringing Your Guitar
As a guitar player you have to know a little about guitar maintenance. Most of us will never be able to have a guitar tech on hand at every gig or living at home with us that helps maintain our guitars. Over the next few months I will discuss some basic guitar maintenance you can do at home with some simple tools. I learned a lot of what I know about guitar repair through trial and error. So don’t be afraid of messing up because you probably will at some point. Being able to keep your instrument in good shape will make it play better, sound better, and make you a lot more willing to pick it up and practice. We will start with how to string your guitar. How often you do this is obviously determined by how often you play. This doesn't mean that if you never play your guitar you never need to string it. Sooner or later environmental conditions will kill the life of your strings. Basically if your strings sound dull or have turned a dark black/ rusty color it's probably time.

Basic tools needed: Strings, string-winder, dikes, finishing rag, and polish.
String Selection
The first thing you will need to do is select the proper strings for your guitar. There are so many different types of strings out there that it can be a bit daunting trying to understand the differences in them all. Really you can break it down to about 3 different types: Steel, Electric, and Nylon. These are the three types you will see most often and believe me, there are variations in those. It is important to select the proper type of string for not only tone reasons, but using the wrong type of string could affect the way your guitar plays and the structural integrity of the instrument. Example: If you put steel strings on a classical style guitar you will eventually pull the bridge completely off of the guitar. The bracing inside a classical guitar isn’t made to withstand the tension from steel strings.
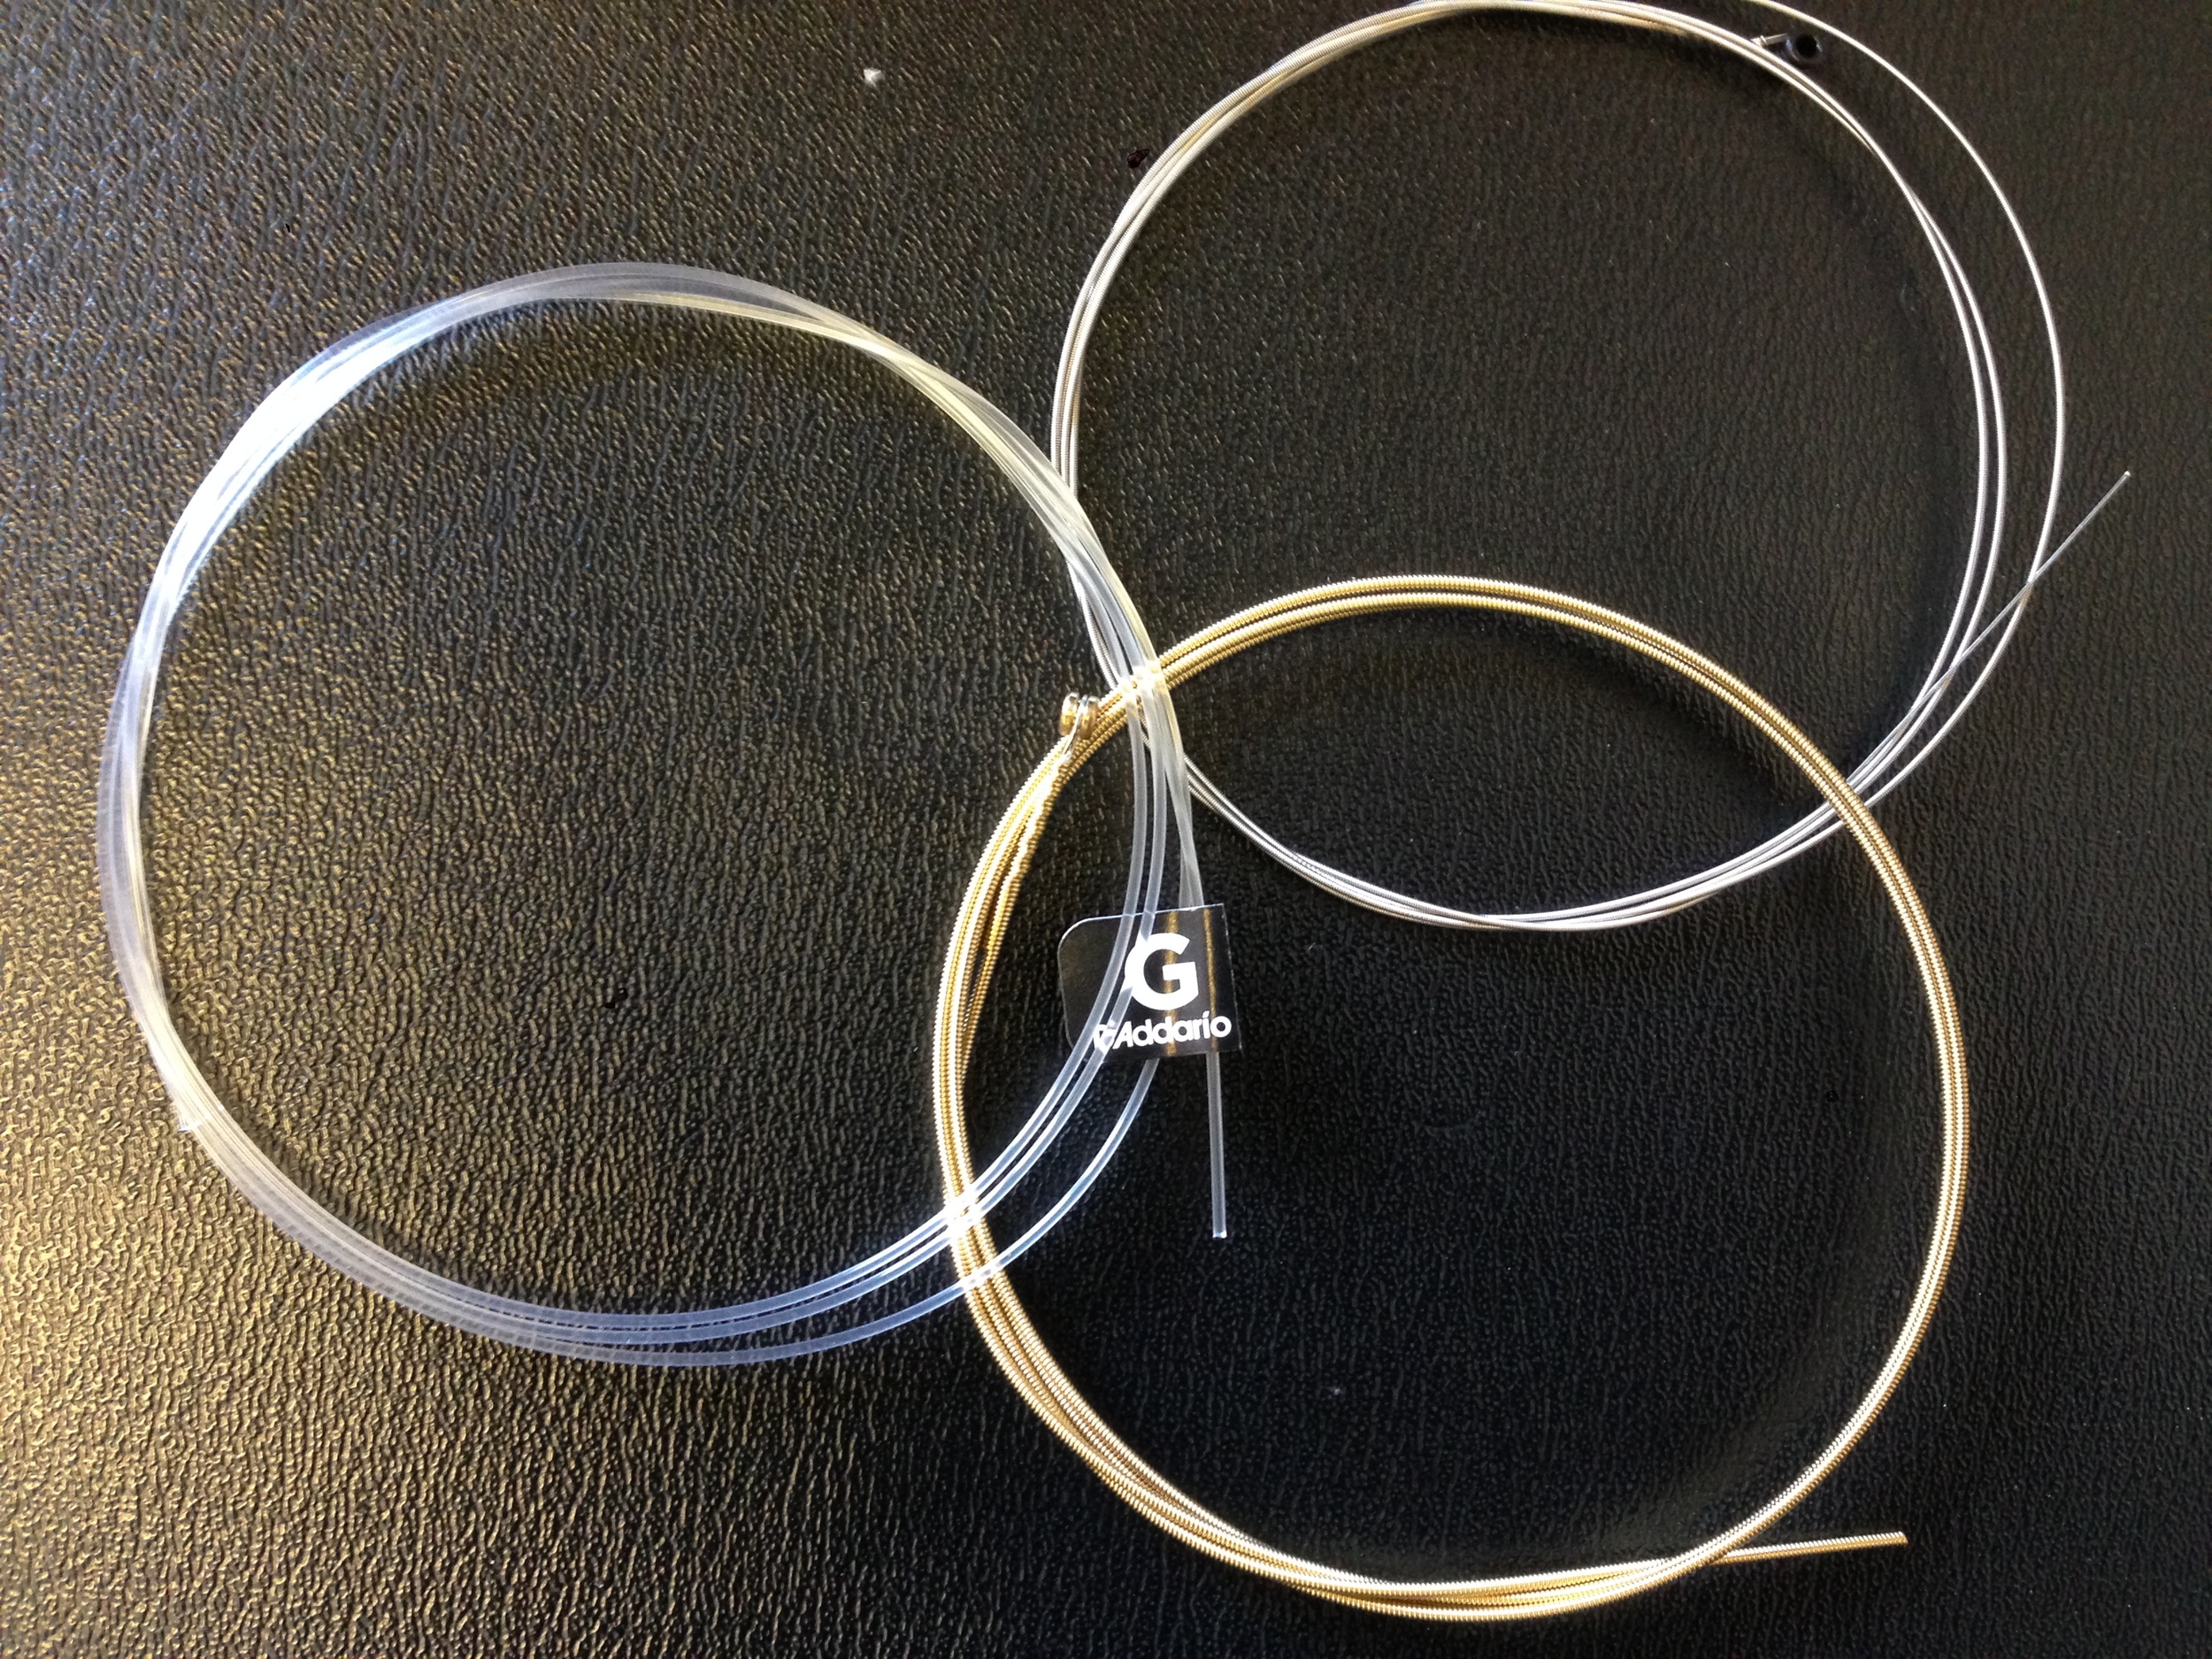
3 Basic String Types
Remove Old Strings
Remove the old strings and wipe the guitar down to remove dirt and nastiness from the guitar and fretboard. I use a micro fiber or finishing rag to clean the guitar along with some type of guitar cleaner/ polish. This helps break up the old grime and the proper type of rag keeps the guitar from getting surface scratches.
Install New Strings
Put the new string in bridge. Start with low E and move towards high E. You can put all 6 strings on at a time if you want. Pull the ball of the string against the bridge pad. Basically push down on the bridge pin and pull string up until you can see the thicker windings on the end of the string come through the bridge. You may not be able to see this depending on the thickness of your bridge.

String Balls Against Bridge Pad Inside Guitar Body
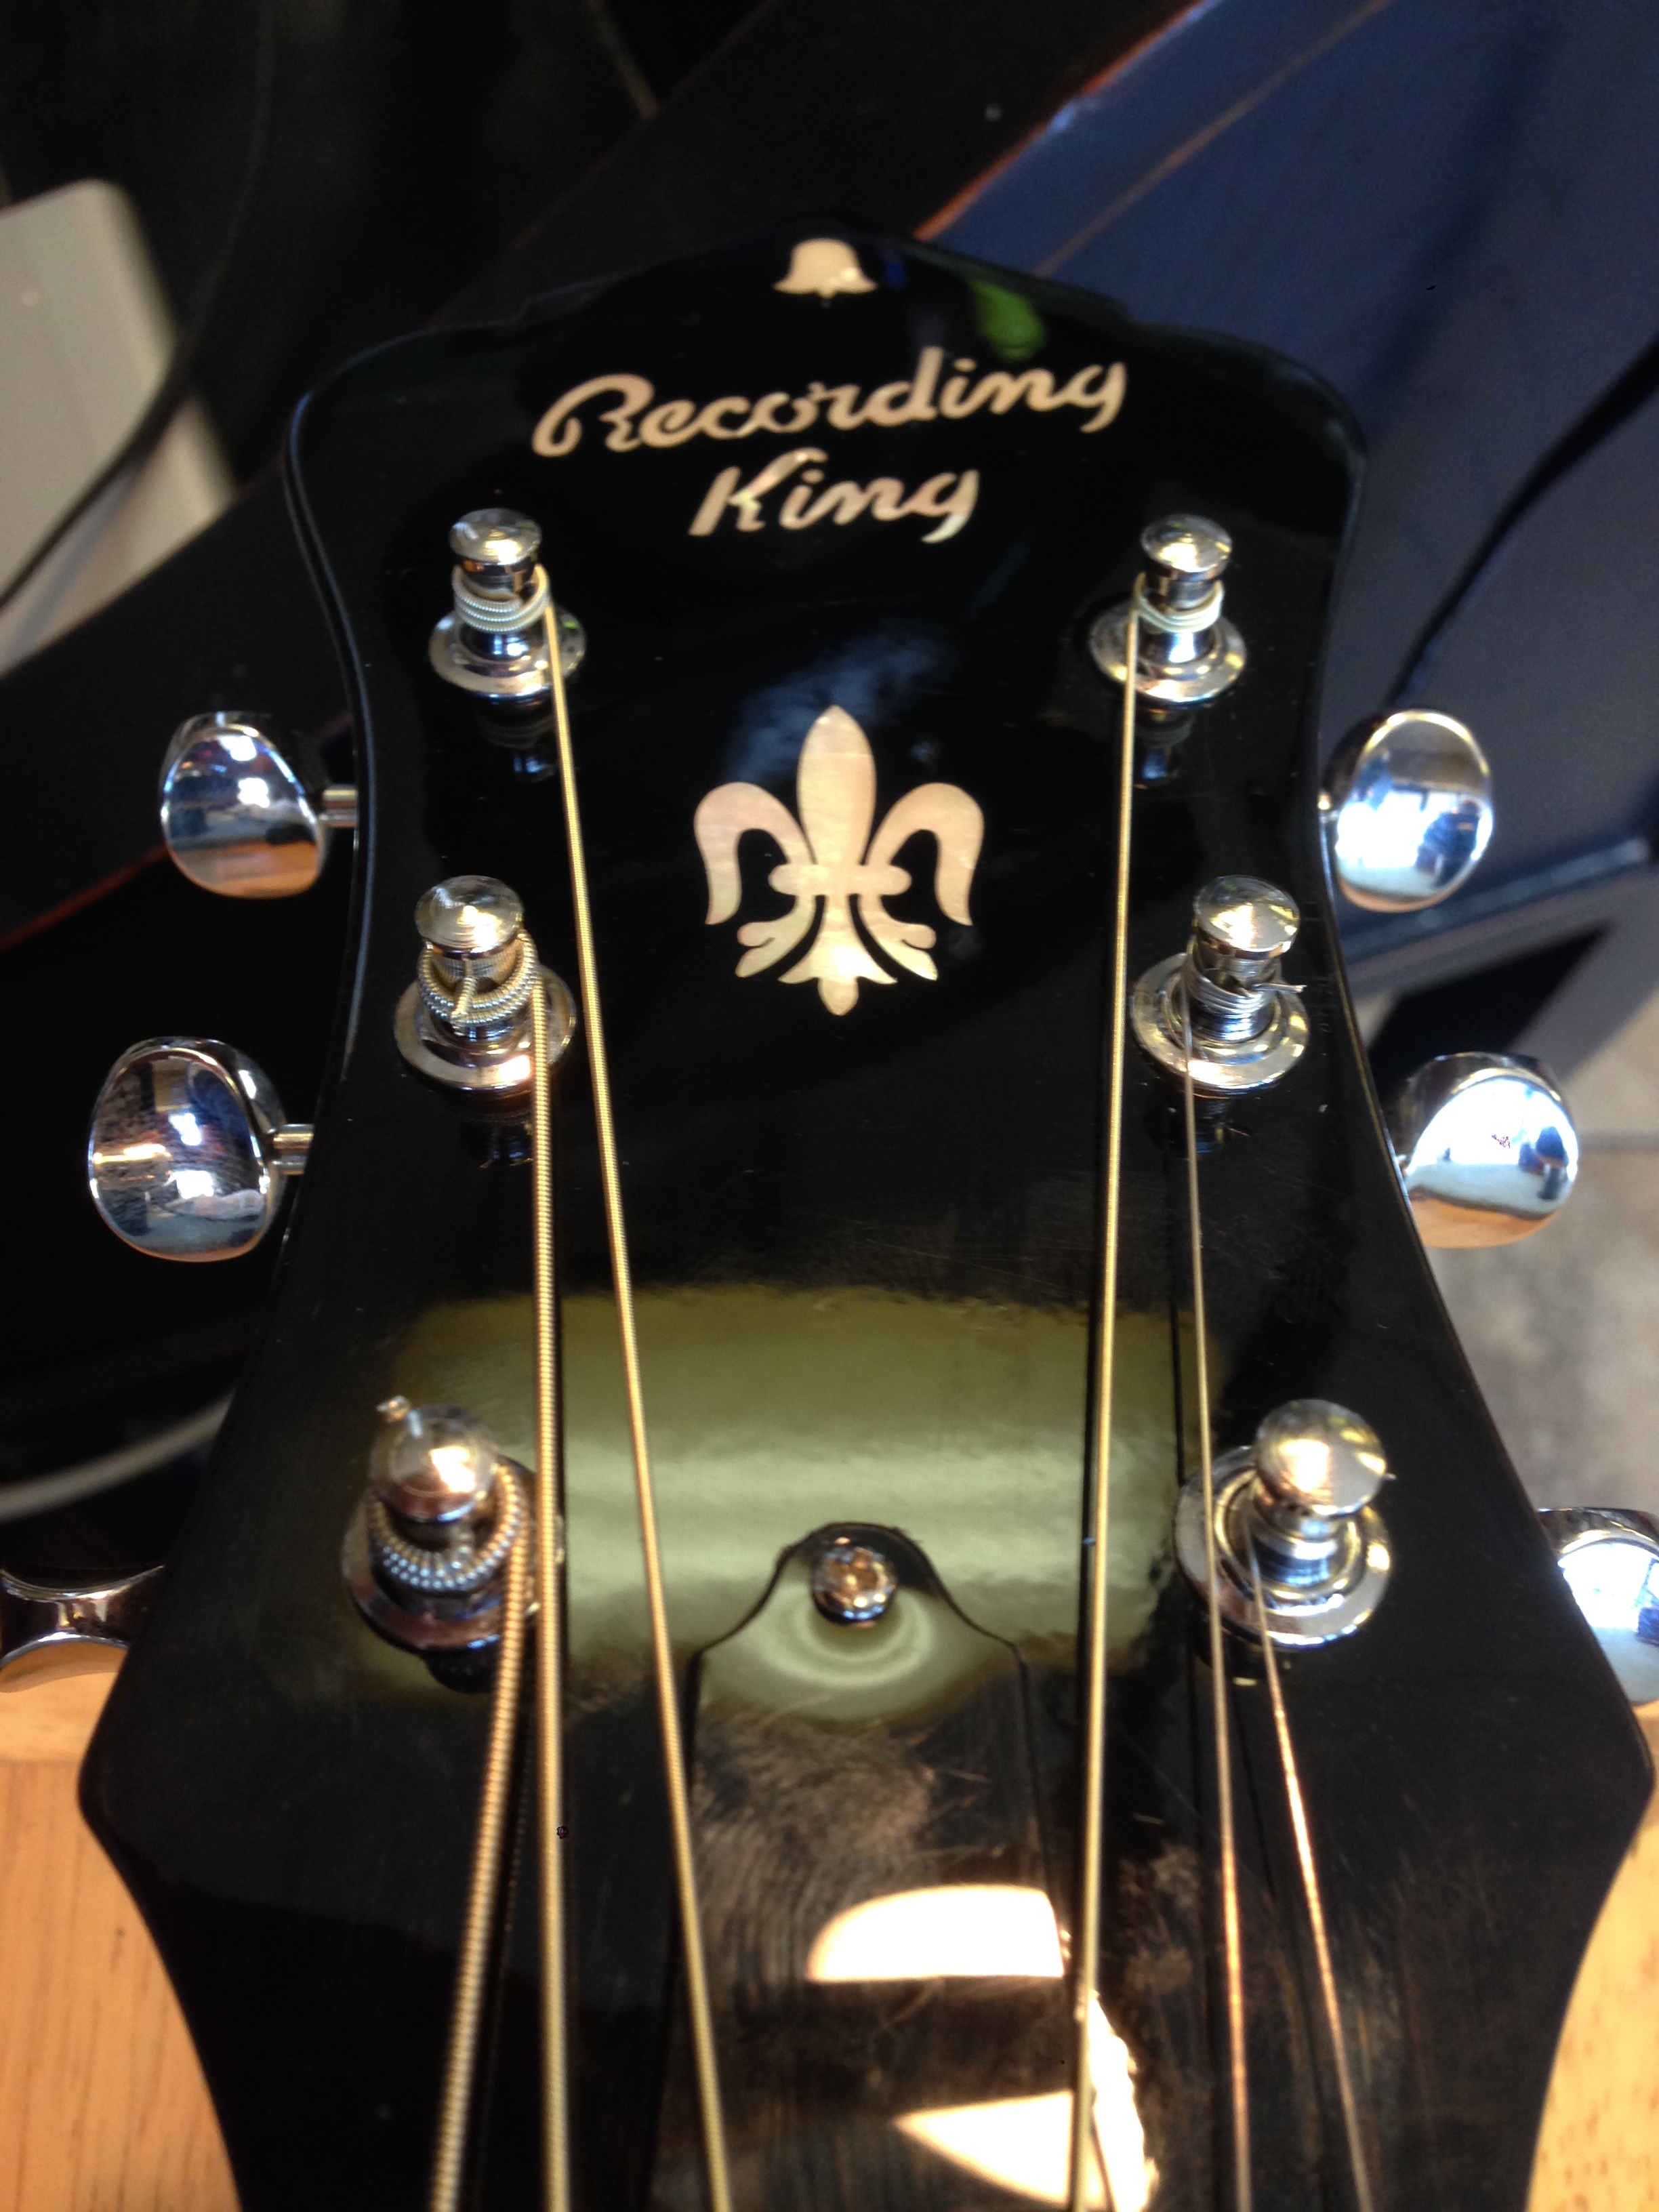
Getting The String Length Right
After you have the string installed in the bridge pull the string approximately 1.5” past the tuning key you intend to use. This can be longer or shorter depending on what string you are on. The thicker the string the less length you will need. This is critical because you want to have at least 2-3 windings around the tuning key head. This helps to make sure your guitar will hold tune. Once you have the length figured out, go ahead and cut the string.

String Tension is Critical
Put the string through the tuning key and use your fingers to keep tension on the string while you wind it onto the key. Keeping constant tension on the string is a big deal in making sure your string goes on nice and clean. This will also aid in keeping you guitar in tune. You want to tighten the string to the inside of the headstock. Move through each string using this same process.
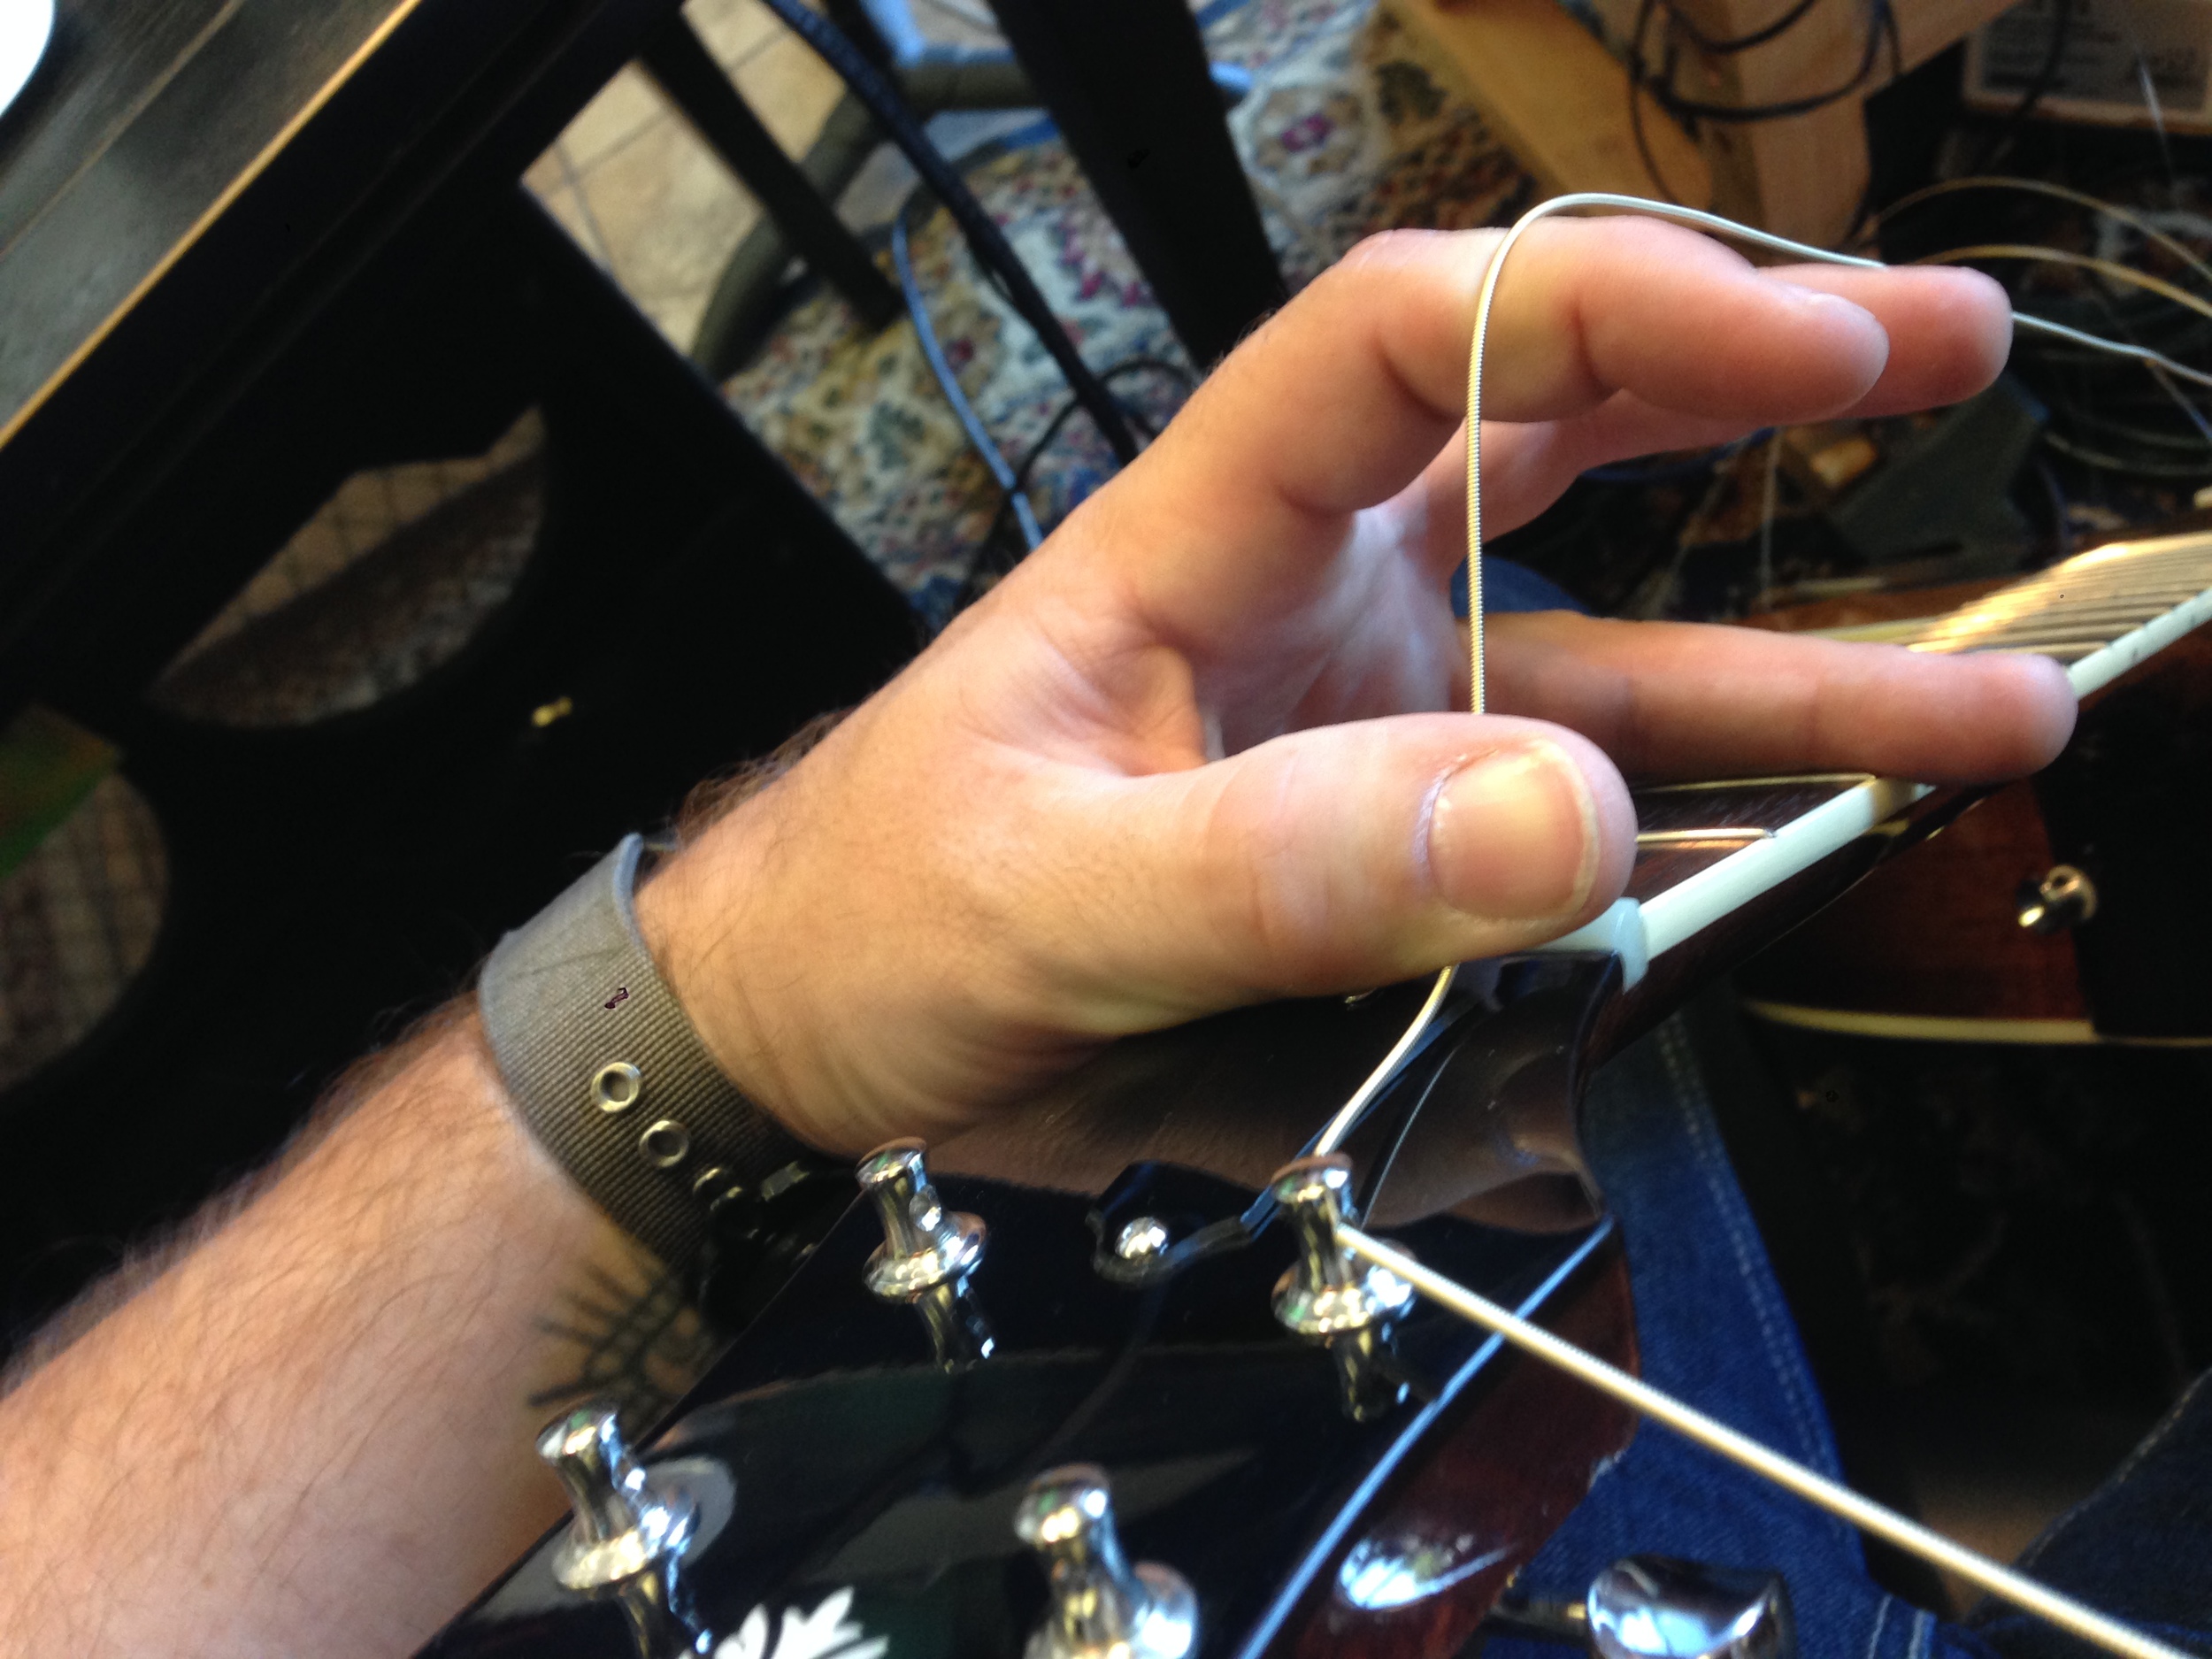
Wind String To Inside Of Headstock
Make sure you have a decent amount of tension on each string. You should be able to pull the string about 1.5” off of the fretboard with little effort. Do not get the strings too tight or you risk breaking them.

Once you have all the strings on the guitar, stretch each string side to side and up and down. Don’t stretch too hard because you can tear the strings right off of the guitar if you're not careful. After you do this, tune the guitar. Once you have the guitar in tune stretch the strings again. Tune again. You may repeat this process 2-3 times. This gets any looseness out of the strings and helps keep the guitar in tune. This is a major step in keeping your sanity after putting on new strings. Your strings will still continue to stretch when you first start to play it. Just be patient and tune it again. I believe you should tune your guitar every time you play it and sometimes during playing depending on how hard you play.
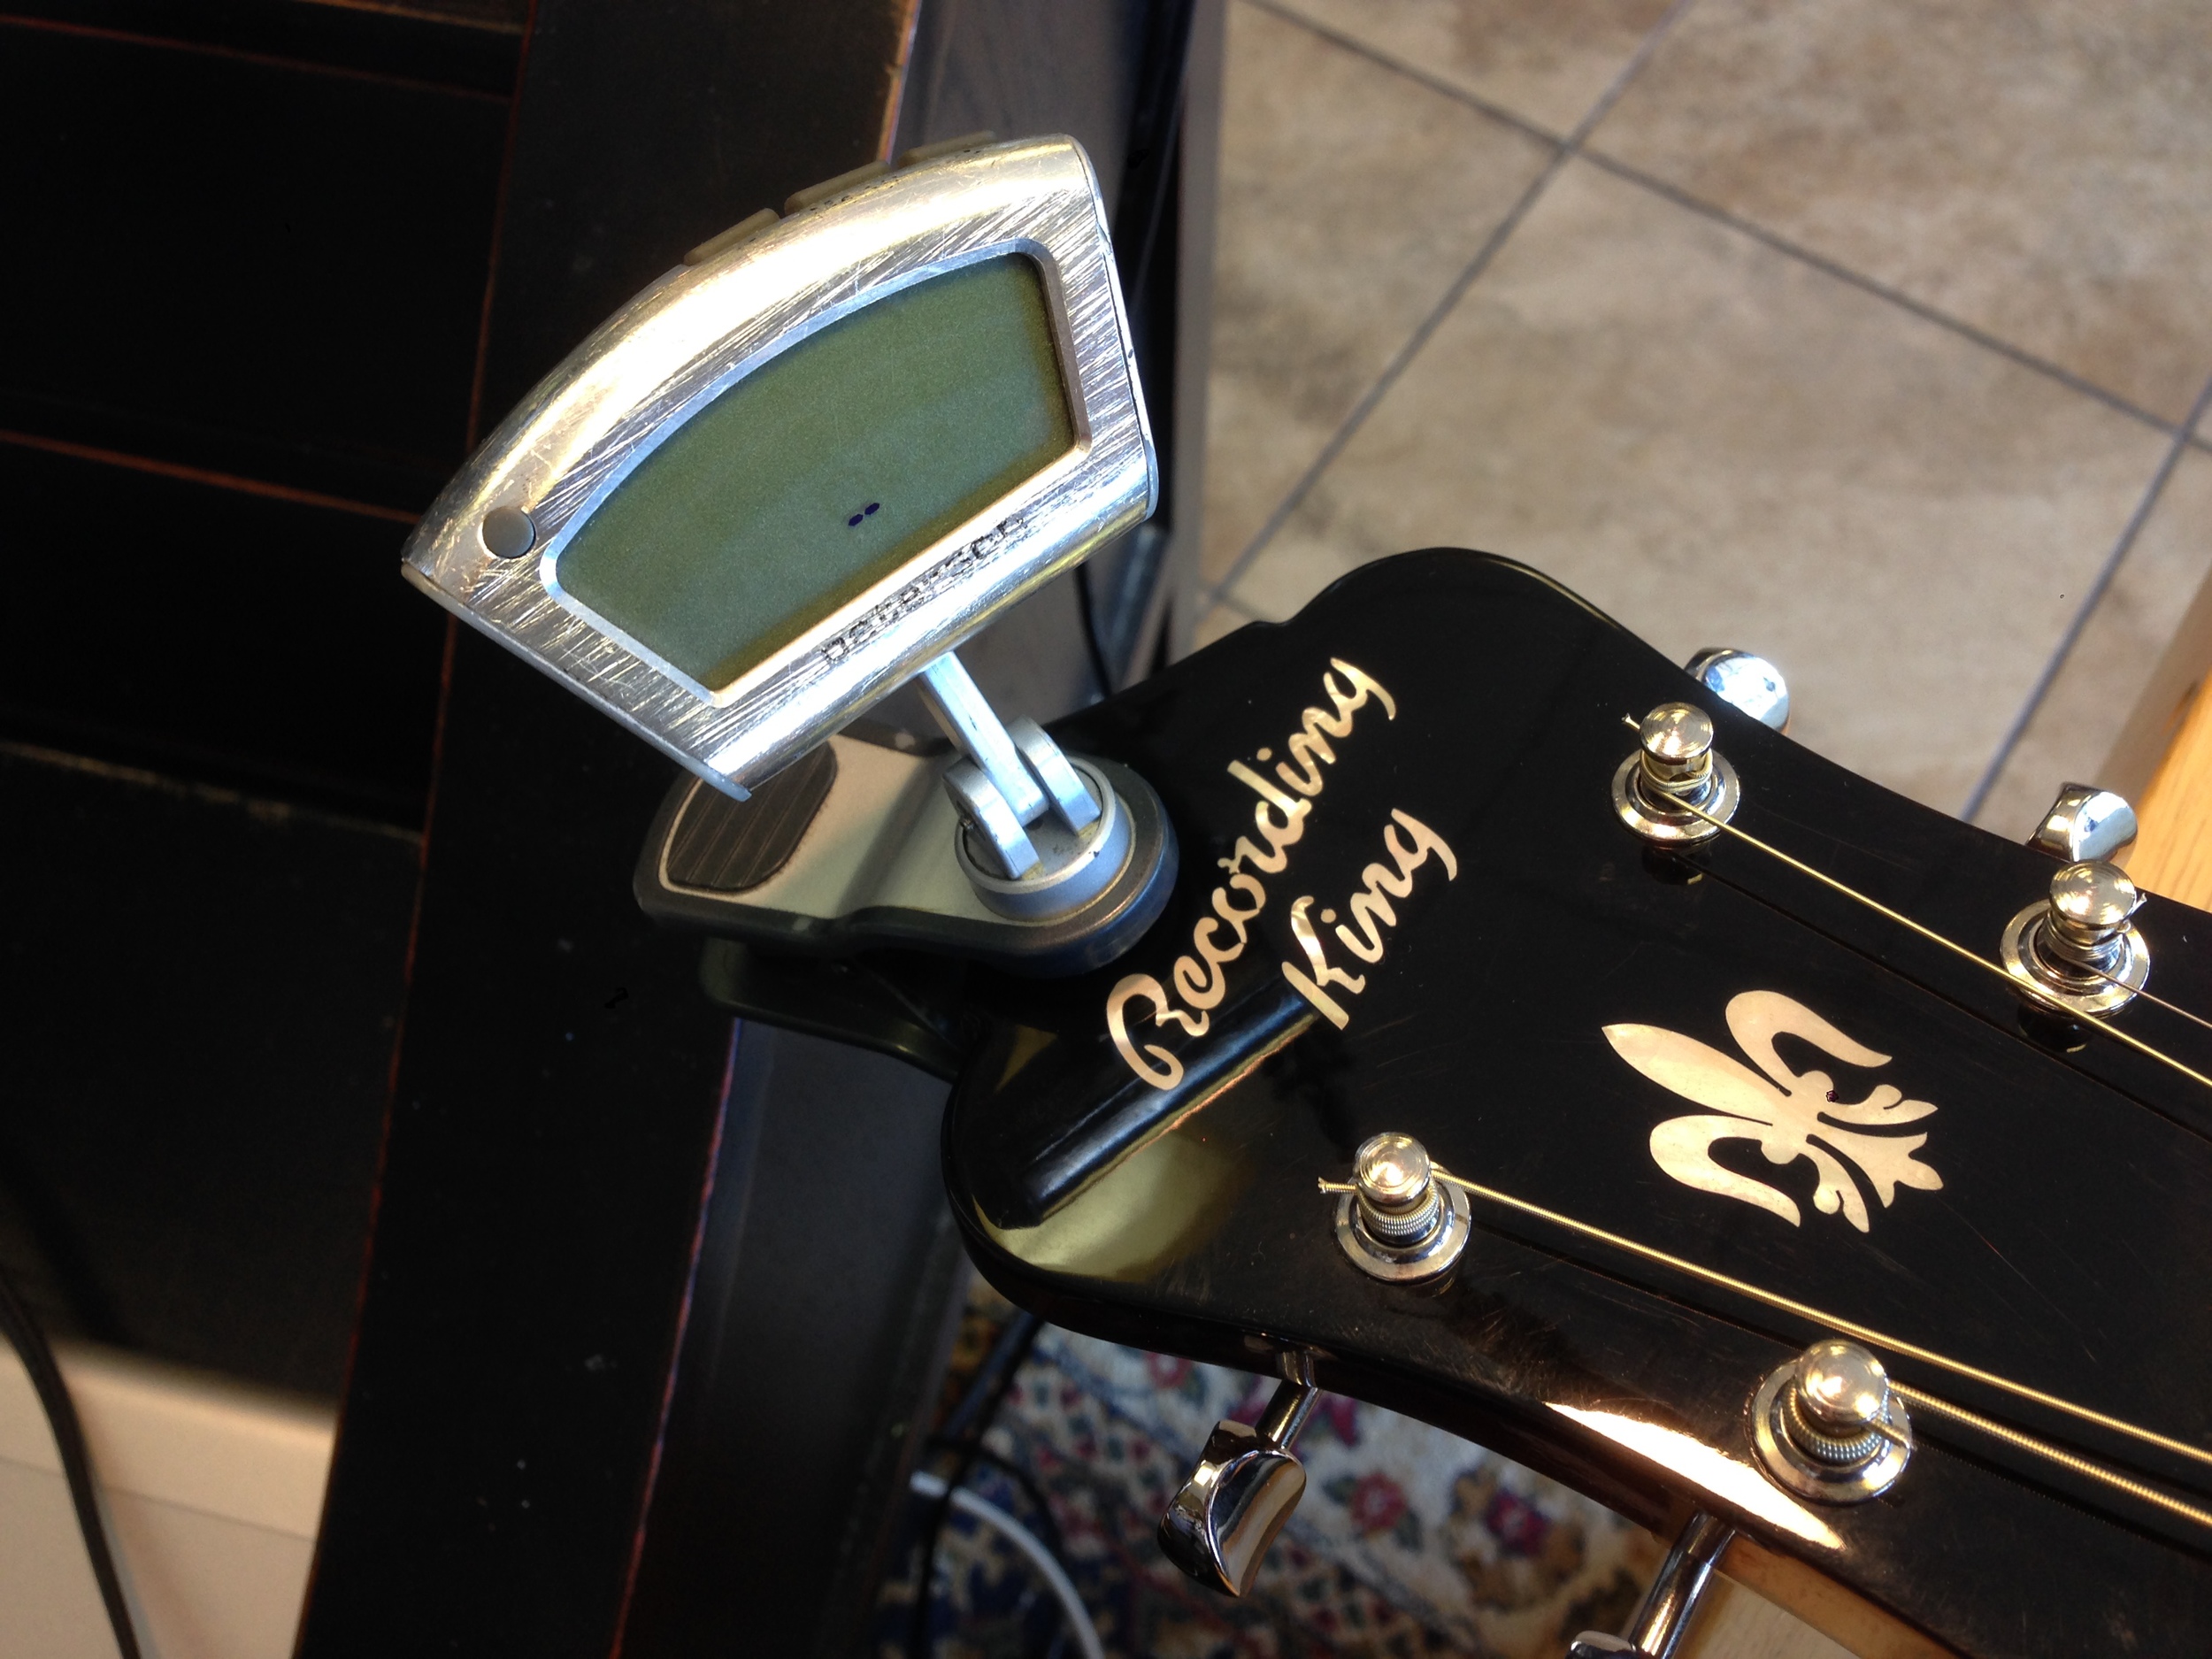
Using A Tuner
There are several ways to get your guitar in tune. You could tune it to another instrument, you could use a pitch fork, you could just tune it to itself (terrible choice if you want to play with other musicians or even a record). For the sake of this blog entry I will assume you have a tuner you can use. There are countless types/brands of tuners on the market. The type I prefer is a tuner that clips on the headstock of the guitar and tunes off of vibrations from the guitar.
A tuner has no brain which means to an extent you have to think for it. A chromatic tuner is able to tune all 12 notes. A guitar is tuned E, A, D, G, B, E starting on the lowest/ thickest string. So if you're tuning the E string on your guitar, but for some reason you are closer to an F, the tuner will assume you want to tune to an F. You have to know that if your tuner is reading F, you are too sharp and need to tune down until the tuner recognizes E. The notes are in this order: A, A#/Bb, B, C, C#/Db, D, D#/Eb, E, F, F#/Gb, G, G#/Ab, and back to A. You can use this information to know whether you are sharp or flat.
Conclusion
I hope this helps if you have had a hard time stringing your guitar in the past or have never attempted to do so. You will get better every time you do it. The trick is be patient and keep trying. Another option is to just bring it to me (if you’re in the area) and I’ll string it for about $10. If you have any questions feel free to ask.